

How to Inspect Roofs Safely for Better Decisions
Learn how to inspect roofs safely using remote imaging, drone data, and clear escalation steps that reduce risk and improve property decisions remotely.
Learn how to inspect roofs safely using remote imaging, drone data, and clear escalation steps that reduce risk and improve property decisions remotely.
How to Inspect Roofs Safely for Better Decisions
A roof can look sound from a parking lot and still conceal lifted flashing, blocked drainage, ponding water, or impact damage. For facility teams, property owners, and asset managers, learning how to inspect roofs safely is not about getting closer to the edge. It is about collecting enough reliable evidence to make the right maintenance, repair, insurance, or capital-planning decision without exposing people to preventable risk.
The most effective roof inspection combines ground-level observation, controlled aerial capture, and professional close-up assessment where it is justified. That approach protects personnel while creating a clearer visual record of the asset.
Start with the decision, not the ladder
Before anyone visits the roof, define what the inspection needs to answer. A routine maintenance review has different requirements from a post-storm assessment, a property acquisition due diligence exercise, or a warranty investigation. Without a defined purpose, teams often collect many images but miss the evidence needed to prioritize action.
Set the inspection scope around practical questions: Is there visible damage? Are drainage paths clear? Has the roof condition changed since the last review? Are rooftop plant, solar equipment, parapets, and penetrations creating risk? Is there enough information to obtain repair quotations or should a roofing specialist investigate further?
Existing drawings, prior inspection reports, maintenance records, leak locations, and dated aerial imagery should be reviewed first. These records help distinguish a new concern from a known condition and make the field inspection more targeted. For large commercial sites, this preparation can reduce time on site and improve consistency across multiple buildings.
Assess conditions before any roof access
Weather is a safety control, not a scheduling inconvenience. Do not inspect from the roof during rain, lightning, high winds, poor visibility, or when surfaces may be wet, greasy, unstable, or heat-stressed. In hot climates, roof membranes and metal surfaces can become hazardous even under clear skies, while sudden storms can quickly change access conditions.
Access also needs to be assessed as carefully as the roof surface. Confirm who is authorized to enter, how they will reach the roof, whether a fixed ladder or roof hatch is in sound condition, and whether there are guardrails, anchor points, or other fall-protection measures. A roof edge, skylight, fragile panel, and open service penetration should all be treated as potential fall hazards.
This is the point where many inspections should stop and move to a remote method. If safe access cannot be confirmed, the inspection is not incomplete. It has identified a risk that must be managed before close-up work proceeds.
Use ground observations to identify visible risk
A ground-level walkthrough is a low-risk starting point that can reveal more than teams expect. Walk the building perimeter and look for displaced roof materials, sagging gutters, staining on facades, debris at downpipes, damaged soffits, loose equipment screens, and vegetation near drainage points.
Use binoculars or a camera with optical zoom to inspect eaves, flashing, rooftop equipment, and obvious low points. Photograph each finding with enough surrounding context to show its location. A close image of a damaged gutter is useful, but an additional wider image showing the building elevation makes it actionable for a contractor or facilities team.
Interior observations matter as well. Water marks on ceilings, damaged finishes, mold, unusual odors, or moisture around service risers can help correlate a possible roof defect with its operational impact. However, an interior leak does not always sit directly below its source. Water can travel along deck profiles, insulation, conduits, or structural members before becoming visible.
How to inspect roofs safely with aerial imaging
Drone photography and aerial mapping can provide a safer, faster view of roof conditions without sending people into exposed areas. For commercial properties, this is particularly valuable when roofs are large, complex, difficult to access, or occupied by air-conditioning units, solar arrays, mechanical plant, and multiple drainage zones.
A controlled aerial inspection can document membrane condition, standing water, damaged cladding, loose materials, blocked gutters, equipment layout, and storm-related impacts. High-resolution overhead imagery also makes it easier to compare roof areas over time, helping maintenance teams identify whether deterioration is localized, recurring, or expanding.
The value is not simply a drone image. It is a structured visual record that connects observations to locations. Orthomosaic maps , labeled aerial photos, and 3D spatial models can give decision-makers a shared view of the roof without requiring every stakeholder to visit the site. This supports faster review by owners, insurers, contractors, architects, and regional operations teams.
Aerial capture has limits. It may not reveal moisture trapped below a membrane, subtle seam failure, substrate deterioration, or the exact condition of concealed flashings. Flight operations also require competent pilots, airspace awareness, appropriate permissions, and a site-specific safety plan. Use aerial data to reduce unnecessary exposure and to direct specialist access, not to replace technical diagnosis when the evidence calls for it.
If access is required, control the work carefully
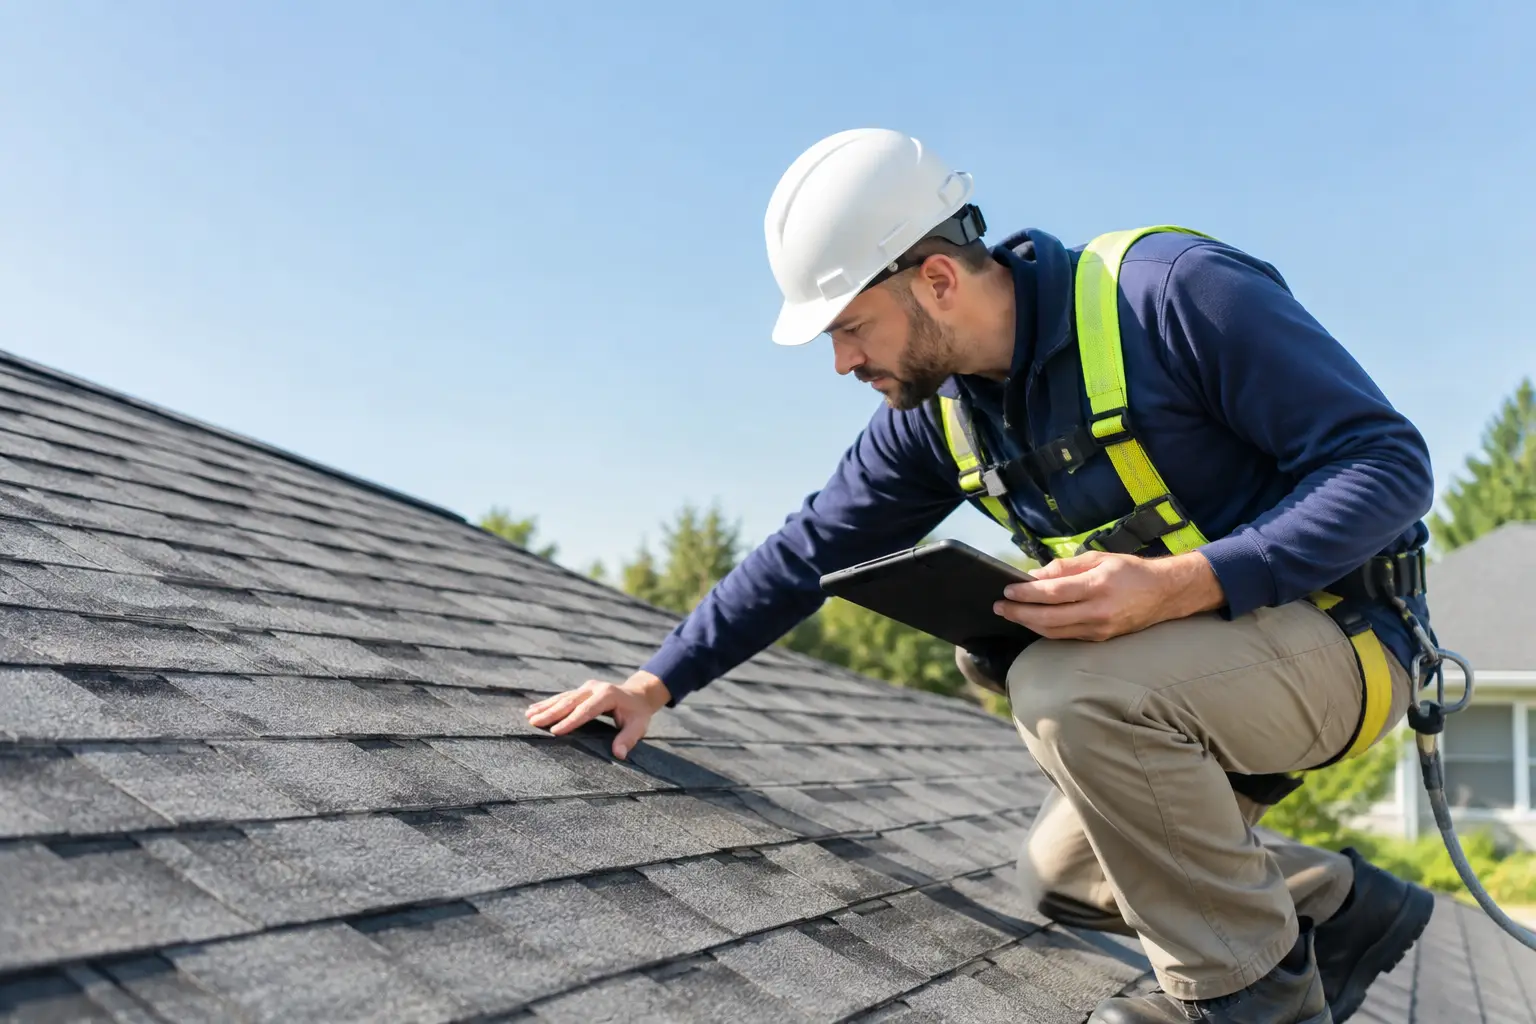
Some conditions can only be confirmed on the roof. A qualified roofing professional may need to test drainage, examine seams, assess flashing details, inspect penetrations, or investigate a suspected leak. When that happens, roof access should be planned as a controlled work activity rather than an informal site visit.
Confirm the roof type and load limitations before stepping onto it. Fragile roofs, aged translucent panels, skylights, corroded metal decking, and areas around penetrations can fail without warning. Workers should follow the applicable site procedures, use appropriate fall protection, maintain safe distance from edges, and avoid walking on unsupported or visibly compromised surfaces.
Never work alone on an exposed roof. A clear communication plan, emergency response process, and defined exclusion zone below are essential, particularly where tools or loose materials could fall. For occupied properties, coordinate work around customers, tenants, staff, and vehicle movement to prevent a roof inspection from creating a ground-level hazard.
Capture evidence that supports action
An inspection is most useful when its findings can be compared, assigned, and verified. Random photographs saved to individual phones rarely create that outcome. Organize evidence by roof zone, elevation, equipment area, or grid reference, then record the date, view direction, and observed condition.
For each issue, describe what is visible without overstating the cause. For example, record “debris visible at north drainage outlet” rather than declaring that it caused a leak unless that has been confirmed. Then classify the required response: monitor, schedule maintenance, obtain specialist assessment, or address urgently.
For portfolios and high-value facilities, a digital twin or 3D roof model can turn inspection data into a repeatable asset record. Teams can annotate issues in context, compare conditions between inspection dates, and share a common visual reference remotely. This is useful when decision-makers are spread across multiple locations or when contractors need clarity before mobilizing.
Know when the finding requires escalation
Certain observations should trigger prompt professional review: active water ingress, visible sagging, widespread ponding, loose roof sheets, damaged skylights, exposed insulation, storm debris, deteriorated structural elements, or materials that could detach over public areas. The same applies when a roof has been affected by fire, severe weather, falling branches, or unauthorized access.
The appropriate response depends on the roof system, building use, occupancy, and the potential consequences of failure. A minor defect on a low, unoccupied service building may be scheduled differently from a similar condition above a hotel entrance, retail walkway, production line, or data room. Risk is shaped by both the defect and what sits below it.
For acquisition, insurance, renovation, or redevelopment projects, combine visual roof evidence with measured spatial data and as-built documentation where needed. Clear existing-condition information reduces uncertainty before budgets, scopes, and project timelines are committed.
A safe roof inspection should leave the organization with more than a set of images. It should create a defensible view of condition, risk, and next steps – allowing the right people to act early, protect occupants, and preserve the value of the property.